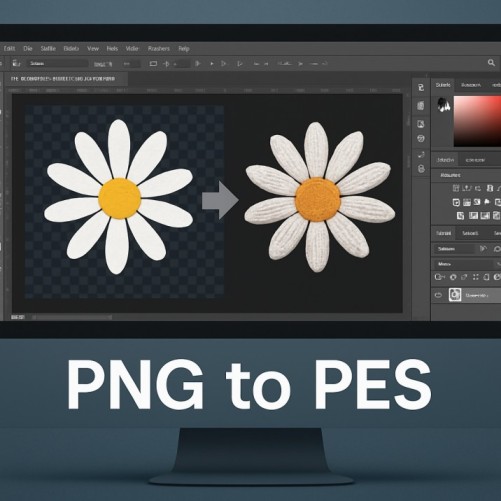
Embroidery lets crafters turn digital ideas into tangible art, adding a personal touch to gifts, apparel, and decor. Converting PNG to PES (learn more) transforms images into files your embroidery machine can use, making custom designs a reality. True Digitizing, a U.S.-based leader with over a decade of experience, simplifies this process for DIY enthusiasts. For postmyblogs.com’s creative readers, this guide explains how to convert PNG to PES, why it’s perfect for crafting, and tips to ensure your embroidery projects stand out.
Understanding PNG and PES Files
PNG: Your Creative Starting Point
A PNG (Portable Network Graphics) is a high-quality image format known for lossless compression and transparent backgrounds. It’s ideal for logos, patterns, or digital art, offering sharp details for craft projects. However, PNGs are raster-based and not directly compatible with embroidery machines.
PES: The Embroidery Code
A PES (Brother Embroidery Format) is a vector-based file for machines like Brother, Babylock, or Janome. It includes stitch instructions—thread colors, stitch types (e.g., satin, fill), and paths—guiding the machine to recreate your design. Converting PNG to PES bridges the gap between digital art and physical embroidery.
Benefits of PNG-to-PES Conversion
Converting PNG to PES unlocks creative and practical advantages:
- Precision: PES files ensure stitches match your design accurately.
- Scalability: Resize designs without losing quality, unlike PNGs.
- Versatility: Craft logos, monograms, or patterns for apparel, bags, or decor. For postmyblogs.com readers, this process empowers DIYers to create personalized gifts or small businesses to produce branded items, enhancing their craft or shop offerings.
How to Convert PNG to PES
Step 1: Prepare Your PNG
Start with a high-resolution PNG (300 DPI or higher):
- Simplify the design using tools like Adobe Photoshop or GIMP, removing gradients or intricate details that don’t stitch well.
- Use bold shapes and 3–5 colors for clean embroidery.
- Save with a transparent background to isolate the design.
Step 2: Choose Embroidery Software
Select software based on your skill level:
- SewArt: Affordable and beginner-friendly, with easy digitizing tools (free trial at sewartembroidery.com).
- Ink/Stitch: A free Inkscape extension for basic conversions, great for hobbyists.
- Wilcom Hatch: Professional-grade for detailed designs, ideal for frequent crafters. Ensure the software exports PES files compatible with your machine.
Step 3: Digitize the Design
Import the PNG into your software:
- Trace the design to create stitch paths, using auto-digitizing for simple images or manual tracing for complex ones.
- Assign thread colors, referencing charts like Isacord or Madeira.
- Set stitch types (e.g., satin for outlines, fill for large areas) and adjust density for your fabric.
Step 4: Test and Save
Export as a PES file and test on scrap fabric to verify:
- Stitch alignment to avoid gaps or overlaps.
- Color accuracy to match the PNG.
- Durability for washing or wear. Tweak settings if needed, then transfer the PES file to your machine via USB or wireless.
Why Crafters and Businesses Love It
DIY Crafting
PNG-to-PES conversion lets postmyblogs.com readers create:
- Custom gifts like monogrammed towels or baby blankets.
- Home decor, such as embroidered pillows or wall art.
- Event items, like t-shirts for family reunions.
Small Business Growth
For entrepreneurs, this process supports:
- Branded merchandise, like tote bags or hats, for online sales.
- Consistent logos across products, boosting professionalism.
- Cost-effective production with reusable PES files.
Expert Tips for Success
- Use High-Quality PNGs: Low-resolution images lead to jagged stitches. Start with sharp files for professional results.
- Simplify Designs: Complex PNGs with many colors can confuse machines. Streamline in tools like Inkscape before converting.
- Match Fabrics: Test PES files on project-specific fabrics (e.g., cotton for apparel, denim for bags) to avoid puckering.
- Test Stitches: Always run a sample stitch to catch errors before full production.
- Consider Pros: For complex designs, True Digitizing offers fast, precise conversions in 2–12 hours with free previews, saving time for busy crafters.
Common Mistakes to Avoid
- Low-Quality PNGs: Pixelated images produce poor stitches. Use high-resolution files.
- Overcomplicating Designs: Too many details reduce clarity. Stick to simple shapes.
- Ignoring Fabric Needs: Stitch settings vary by material. Test on similar fabrics.
- Skipping Tests: Testing PES files prevents costly errors. Don’t skip this step.
Tools for Conversion
- Free Options: Ink/Stitch (Inkscape extension) or OnlineConvertFree for basic conversions.
- Paid Software: SewArt (budget-friendly) or Wilcom Hatch (professional-grade) for advanced control.
- Professional Services: True Digitizing ensures machine-ready PES files, ideal for complex or urgent projects.
Applications for Postmyblogs.com Readers
- Gift Ideas: Create embroidered bookmarks or coasters for thoughtful, handmade presents.
- Home Projects: Add stitched designs to curtains or table runners for a cozy vibe.
- Business Ventures: Sell custom apparel or accessories online, using PES files for consistent quality.
Conclusion
Converting PNG to PES lets postmyblogs.com’s crafty readers transform digital designs into stunning embroidery. With user-friendly tools like SewArt or expert services like True Digitizing, anyone can master this process. Follow these steps, avoid common pitfalls, and start creating personalized projects or branded products today. Grab a PNG, fire up your embroidery machine, and let your creativity stitch the story!