
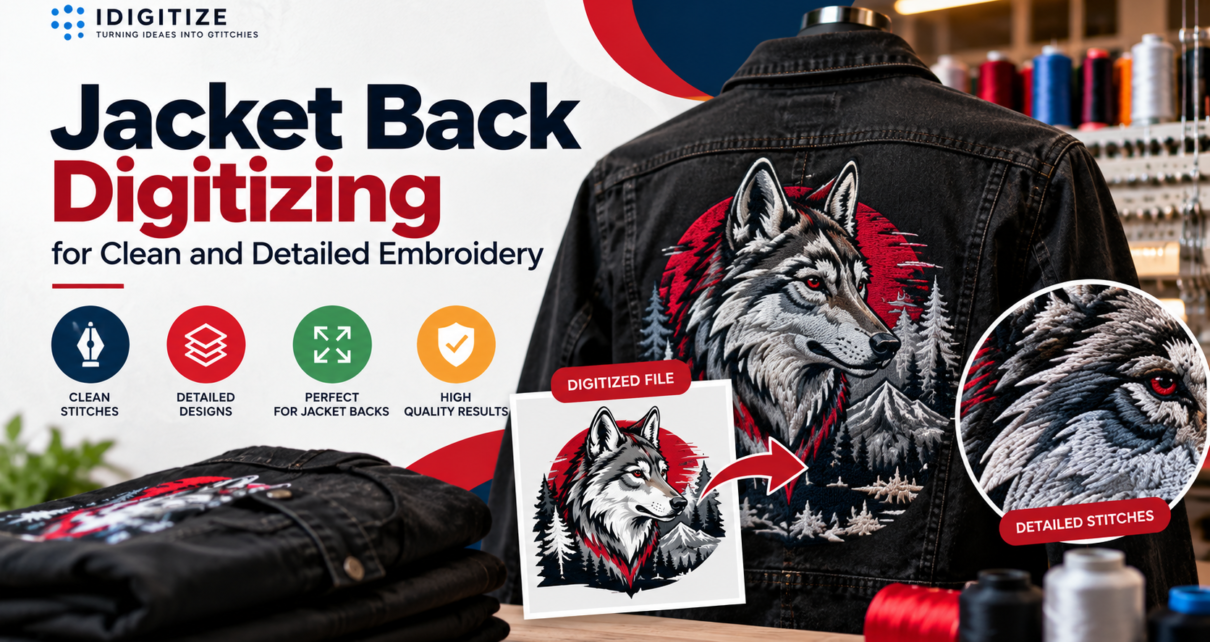
Large jacket back designs need more than simply enlarging an embroidery file. Our professional jacket back digitizing services prepare artwork for machine embroidery with careful attention to stitch density, underlay, sequencing, direction, compensation, fabric, and final dimensions. With proper jacket back digitizing, we convert your artwork into machine ready stitch instructions while keeping important lettering, outlines, fills, and design details organized.
At iDigitize, we prepare jacket back artwork according to the design, required size, material, placement, and embroidery file requirements. Large logos, mascots, lettering, illustrations, and detailed graphics can contain many separate elements, so we plan how those elements should translate from digital artwork into thread.
What Is Jacket Back Digitizing?
Jacket back digitizing is the process of converting artwork into an embroidery machine file specifically prepared for a large design placed on the back of a jacket.
A JPG, PNG, or similar image shows how artwork should look, but it does not tell an embroidery machine how to sew the design. A digitized embroidery file contains stitch information, including stitch types, directions, density, sequence, and other settings required for production.
Large jacket designs require particular attention because they can cover a much wider embroidery area than a small chest logo. They may also combine broad fills, detailed outlines, lettering, color changes, and other elements within one design.
Why Large Jacket Back Designs Need Careful Digitizing
Large embroidery creates different challenges from smaller placements. Simply increasing the dimensions of an existing design does not automatically produce suitable embroidery.
For jacket back digitizing, we consider several connected factors:
- Final embroidery dimensions
- Jacket or fabric type
- Artwork complexity
- Stitch density
- Underlay
- Stitch direction
- Push and pull compensation
- Stitch sequence
- Lettering and outlines
- Large fill areas
- Required embroidery format
Each decision can influence another part of the design. For example, changing stitch direction may affect how two neighboring sections appear, while unsuitable density can affect how a large filled area behaves on the fabric.
The aim is to build the embroidery logically rather than treating the artwork as one flat image.
How We Prepare Artwork for Jacket Back Embroidery
Our approach starts with the artwork and intended production requirements. We then determine how the different visual elements can be translated into stitches.
1. Review the Artwork and Final Dimensions
We first examine the artwork for text, outlines, fills, colors, shapes, and fine details.
Final dimensions matter because embroidery settings should be planned for the size at which the design will actually be stitched. A detailed illustration that works across a large jacket back may need adjustments if the same artwork is reduced.
Clear source artwork also gives us a stronger visual reference when interpreting smaller elements.
2. Select Suitable Stitch Types
Different parts of a jacket design can require different stitch structures.
Satin stitches can be useful for certain lettering, outlines, borders, and narrow design elements. Fill stitches are commonly used for broader areas that need coverage.
Instead of assigning the same stitch type to every part of the design, we consider the size and shape of each element.
This helps create an embroidery file that reflects the structure of the original artwork.
3. Control Stitch Density and Underlay
Stitch density determines how closely stitches are positioned.
More density does not automatically mean better embroidery. Excessive stitches can create unnecessary thread buildup, while unsuitable density can affect coverage.
Underlay stitches sit beneath the visible embroidery and provide a foundation for the main stitching. The appropriate underlay depends on factors such as the design element, fabric, stitch type, and dimensions.
Our professional jacket back digitizing services consider these settings as part of the complete design rather than applying identical values throughout the artwork.
4. Plan Stitch Direction and Sequence
Stitch direction influences both the structure and visual appearance of embroidery.
Changing stitch angles between nearby elements can help separate different shapes and give the design more visual definition.
Sequence is equally important. Jacket back artwork may contain several colors, lettering, outlines, backgrounds, and overlapping elements. We organize these components into a logical stitching order.
Effective jacket back digitizing creates an organized stitch path instead of forcing the machine to move unnecessarily between unrelated areas.
Why Jacket Fabric Matters During Digitizing
The material beneath the embroidery affects how stitches behave.
A heavy denim jacket does not respond to embroidery in exactly the same way as a lightweight jacket. Leather, fleece, varsity materials, and other fabrics can also have different characteristics.
For this reason, we recommend providing the jacket or fabric type with your artwork.
Fabric information can be relevant when considering:
- Stitch density
- Underlay
- Compensation
- Large fill areas
- Design structure
- Overall stitch planning
The artwork and the material should therefore be considered together during jacket back digitizing.
Managing Lettering and Fine Design Details
Large jacket back embroidery often contains detailed text, names, club lettering, illustrations, borders, or decorative elements.
Even though the overall design may be large, individual details can still be very small.
Thread has physical thickness, so extremely thin lines or tiny spaces do not behave exactly like pixels in digital artwork. Lettering can also lose definition if characters are too small or positioned too closely together.
When preparing detailed artwork, we consider:
- Letter size
- Character spacing
- Line thickness
- Distance between elements
- Outline width
- Stitch direction
- Final embroidery dimensions
If an artwork element is too fine for its intended embroidery size, practical adjustment may be necessary to make it more suitable for thread.
The objective is to retain the recognizable features of the design while creating stitch instructions that make sense for embroidery.
Common Jacket Back Digitizing Problems to Avoid
Several problems can make large jacket embroidery more difficult to produce.
Excessive Stitch Density
Packing too many stitches into a large design can create unnecessary thread buildup. Density should suit the artwork, stitch type, and fabric.
Ignoring the Final Size
Digitizing without knowing the intended dimensions can affect lettering, outlines, spacing, and detailed elements.
Poor Stitch Sequencing
Large designs contain many separate components. An inefficient sequence can create unnecessary movement throughout the embroidery.
Overcomplicated Fine Details
Tiny lines, narrow spaces, and very small text may not translate directly into thread. Artwork should be considered according to its actual embroidery size.
Ignoring Fabric Type
Using the same approach for every jacket material can overlook how different fabrics respond to embroidery.
Professional jacket back digitizing considers these factors before the machine file reaches production.
Which Embroidery File Format Do You Need?
The required embroidery format depends on the machine or software used to stitch the jacket.
Common machine embroidery formats include:
- DST
- PES
- EMB
- EXP
- JEF
- VP3
- HUS
- XXX
Knowing the required format before ordering can help ensure that the final file matches your production setup.
File format alone, however, does not determine embroidery quality. A correctly formatted file still needs suitable stitch types, density, underlay, sequence, and other digitizing settings.
What Should You Provide for Jacket Back Digitizing?
Providing clear information helps us understand how your design will be used.
Before submitting artwork for jacket back digitizing, prepare:
- The clearest artwork available
- Exact intended embroidery dimensions
- Jacket or fabric type
- Back placement information
- Required embroidery machine format
- Important instructions about colors or lettering
- Any relevant details about the final design
A clear source file gives us a better reference for interpreting shapes, text, outlines, and small details. Exact dimensions are equally important because we prepare the stitch file around the intended embroidery size.
Prepare Your Jacket Back Artwork for Embroidery
At IDigitize, our jacket back digitizing process focuses on translating large artwork into organized machine embroidery instructions. We consider size, fabric, stitch density, underlay, sequencing, direction, compensation, lettering, and design detail so the file is prepared around the requirements of jacket back embroidery.
If you have a logo, mascot, lettering design, illustration, or another large jacket graphic ready, send us your artwork along with the intended dimensions, fabric information, placement, and required machine format. We can prepare the design for your embroidery production workflow.
Frequently Asked Questions
What is jacket back digitizing used for?
Jacket back digitizing converts artwork into machine readable stitch instructions for large embroidery placed across the back of a jacket. It can be used for logos, lettering, mascots, illustrations, club designs, and other graphics that need to be prepared according to their intended embroidery dimensions and material.
Why does jacket material matter when digitizing a design?
Jacket material matters because fabrics can respond differently to embroidery. Denim, leather, fleece, varsity materials, and lighter jacket fabrics have different characteristics. We recommend providing your fabric type so the design can be considered alongside factors such as density, underlay, compensation, and overall stitch construction.
Can detailed artwork be used for jacket back embroidery?
Yes, detailed artwork can be prepared for jacket back embroidery, but the intended size matters. Fine lines, tiny text, narrow spaces, and complicated elements may require careful treatment because embroidery thread cannot reproduce every pixel level detail exactly as it appears in a digital image.
What artwork should I send for jacket back digitizing?
Send us the clearest version of your artwork available. You should also provide the intended embroidery dimensions, jacket or fabric type, placement, required machine format, and any important design instructions. These details give us the context needed to prepare the artwork for machine embroidery.
Which embroidery file format should I choose?
The correct format depends on your embroidery machine or production software. Common embroidery formats include DST, PES, EMB, EXP, JEF, VP3, HUS, and XXX. Check the requirements of your embroidery equipment or software before selecting the final machine format.